BESTOP Install on the JT
- mandybrezina
- Jul 17, 2021
- 3 min read

Bottom Line Up Front (BLUF)
Equipment Installed: Bestop Sunrider - Black Twill
Vehicle (the equipment was installed/used on): 2020 Jeep Gladiator Rubicon
Purchased From: Quadratec
Installation Difficulty: Easy
Would we recommend? Big Yes!
What you need to know: Easy to install initially, even easier the second year (if you store it for the winter)
Manual for reference
Why this top? The Freedom panels are great, but if you want the sunroof-like feel, you'll have to take them off and store them somewhere, whereas with this top, you can unlatch the two clips and be on your way. Given the ease of use and the feeling of the open air concept, we affectionately refer to this top as the "Woooooo" top :-)

Initial Install

The reason we broke these out into separate installations is because there are a few things to put together out of the box that you won't have to do if you pull this off during the winter time. The first time you put it together, you'll have to connect the door rails to the header and deck assembly, then you're ready to set it on the Gladiator! This step you will not have to do if you store it for the winter and reinstall (more below).

After installing the main piece, you'll have a rear clamp and then you're set!

If we had to pick one thing to complain about that caused a few curse words, it was the z-clip pictured below. The good thing is, once this is in place, you won't have to mess with this if you reinstall the top should you choose to remove during the winter, but on initial install, you'll need some patience to finesse the z-clip into the tiny hole. It's amazing that this tiny piece does anything, but it was part of the install, so make sure you get the z-clip in place and bring your patience.

Second Install
If you choose to remove the Sunrider during the winter like we did, there are a couple of things you can do to make your life easier.
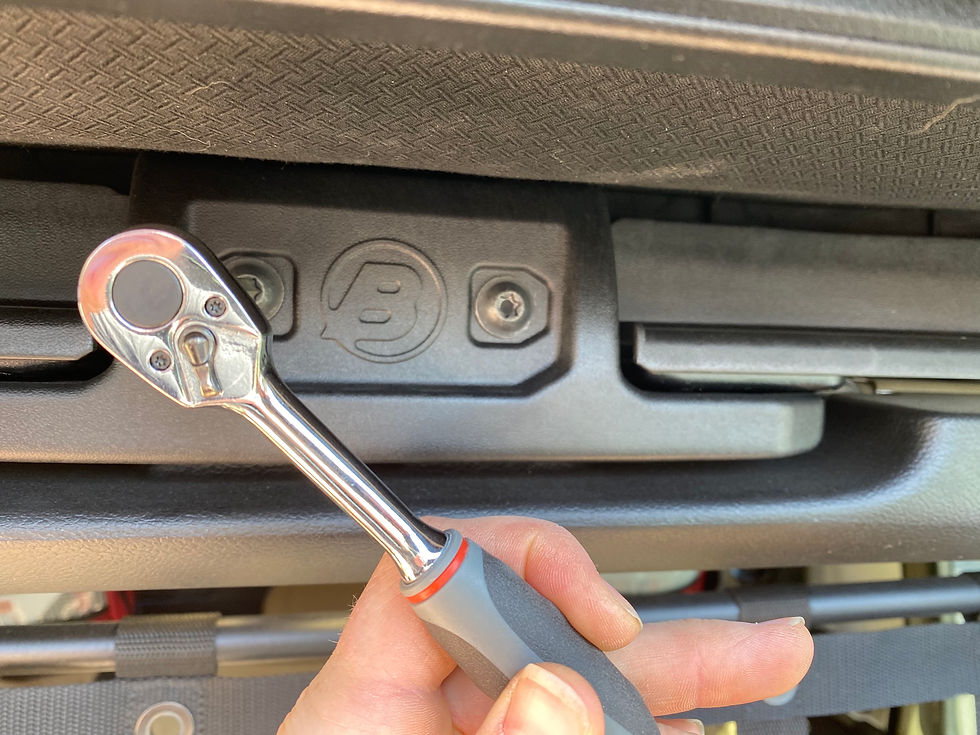
Below shows us placing the Sunrider on top of the Jeep after removing the Freedom Panels. Once you set it in place, you'll have the two bolts to install into the roll bar before placing the rear clamp.

Pictured below is the hardware held in place with electrical tape. This is for the rear clamp piece and makes it to where you won't need to reference the instructions to remember where the hardware goes. Super easy.

And that's it! After six bolts, all you have to do is place the Freedom Panels in the handy dandy soft case you get with the Jeep, and you're on your way, ready to enjoy the open air concepts this top gives you! We love this top and the ease of unlatching the two clips to open it up. We've had no issues with leaking or anything, even when in some gnarly thunderstorms, so no concerns there!
They did send two pieces of velcro, the tie down straps, that you can install on the hinges, to secure it down more if you're worried about it moving. We've found the way the top is designed and how the hinges operate, they haven't seemed necessary. Others might like the security of them, but we haven't needed them just yet. If we do use them, it's usually for longer drives when the top will be down for a long period of time.
If you're on the fence about this top and love that open Jeep concept without having to store the panels, we highly recommend the top. After about a year of use on it, we have no complaints or regrets. It is a bit pricey, but the quality of the product is great and the ease of install and opening the top make it worth the investment if this is important to you.

Note: We installed this initially in 2020. It is possible that the product may have changed and the install varies slight. We suggest verifying with the manufacturer's website to ensure no major changes to the install since this write up.


Comments